


When first trying this take a scrap piece of wood to see how
thin the color is, always remembering you can layer the colors to darken them
up.

I used watered-down unbleached titanium paint over the face
before I began adding color. I only do this when painting Butternut wood as it
tends to darken even with no paint and a clear sealant. Once I’ve given the paint ample time to dry, I
began to add the watered-down red.
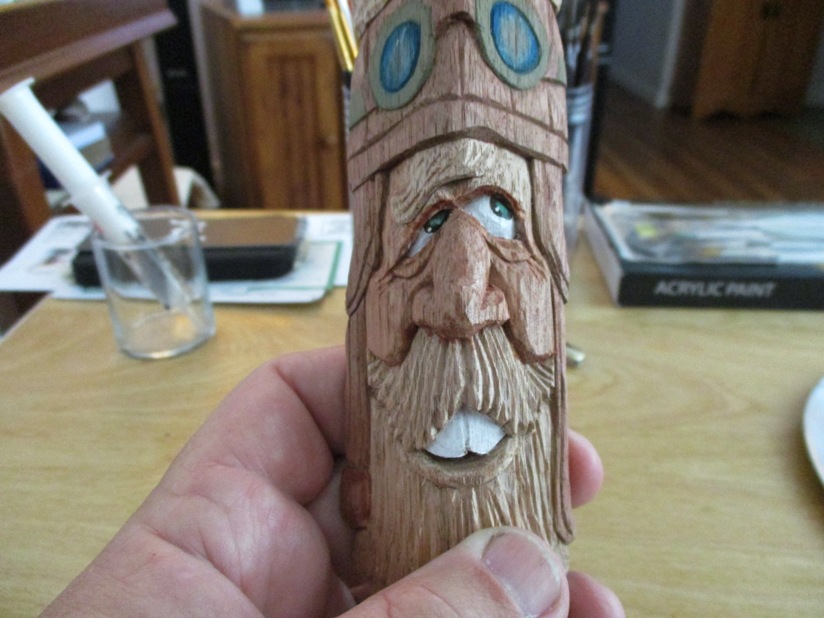
I paint over the whole facial area with the watered-down
red. I only do one layer in the beginning. I will add more down the road, but
not before I start adding some of the shadowing to the bags under the eyes.


Once the colors are mixed together it will look like a watered-down
bluish gray. Before applying each layer always make sure to mix the colors
together to get a strong consistency in color. I applied the color to the bags under the eyes and also the thin area
right underneath the eyebrows.

I then apply 2 to 3 layers of the watered-down red to the cheek area and the tip of the nose. After all, Santa is flying around in the cold night air.
From this point it’s up to each carver to decide how dark
the bags under the eyes will be. The darker you want them the more layers of
color you will apply. The same is true for the cheek and nose area. Each layer
will strengthen the color. You can also add some of the red to the bags to
soften the contrast from the rest of the face. I don’t paint the lower lip
until after I have done the dry paint on the mustache and beard area.
as always,
"Good night and May God bless"
No comments:
Post a Comment